Step 5 - Styling the Exterior Walls
The next step is to change the styling (line thickness) of the exterior walls to make it obvious that these are walls (as opposed to other details being added to the drawing in subsequent steps).
First, make certain the rectangle drawn in the previous step is still selected. Eight blue handles and one red handle will be visibile if the figure is selected. Tap on the rectangle if it is not already selected.
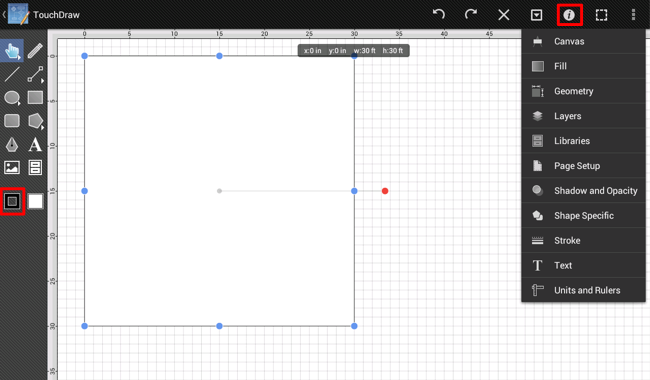
Second, open the Stroke Panel to change the line thickness. It can be opened by either pressing on the button highlighted below within the Drawing Toolbar or by pressing on the Info Button in the Top Toolbar and then selecting the Stroke option from the Info Menu.

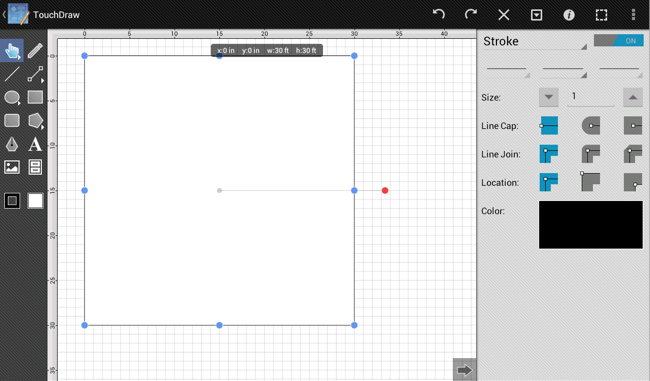
The Stroke Panel will open once the above button has been pressed or the Stroke option has been selected.

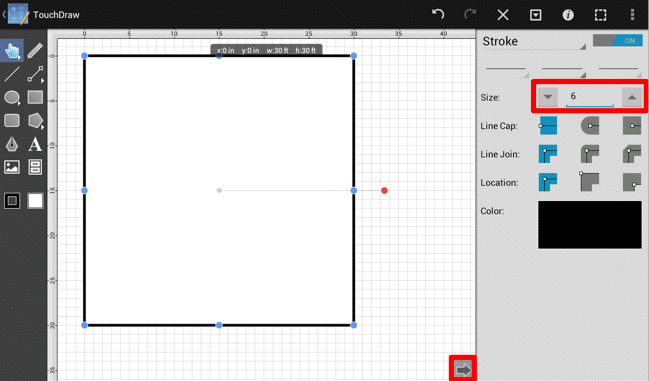
Use the Stroke Size buttons and text fields to change the value for the thickness of the line. As with other settings in each sidebar panel, use the up and down buttons to increment the value one by one or tap in the text field to bring up the keyboard and edit the value directly.
For the purposes of this tutorial, the Stroke Size (line thickness) should be changed to 6. Tap on the Hide Sidebar Button(highlighted in red below) at the bottom of the Stroke Panel to dismiss it after making this change.

Even though not all shown attributes are currently being used, these additional stroke (line) attributes can be changed from this panel as well.