Step 17 - Adding the Stairs
The next step in this tutorial is to add the stairs. The following drawing has been provided as a point of reference for the dimensions and relative location of the stairs.
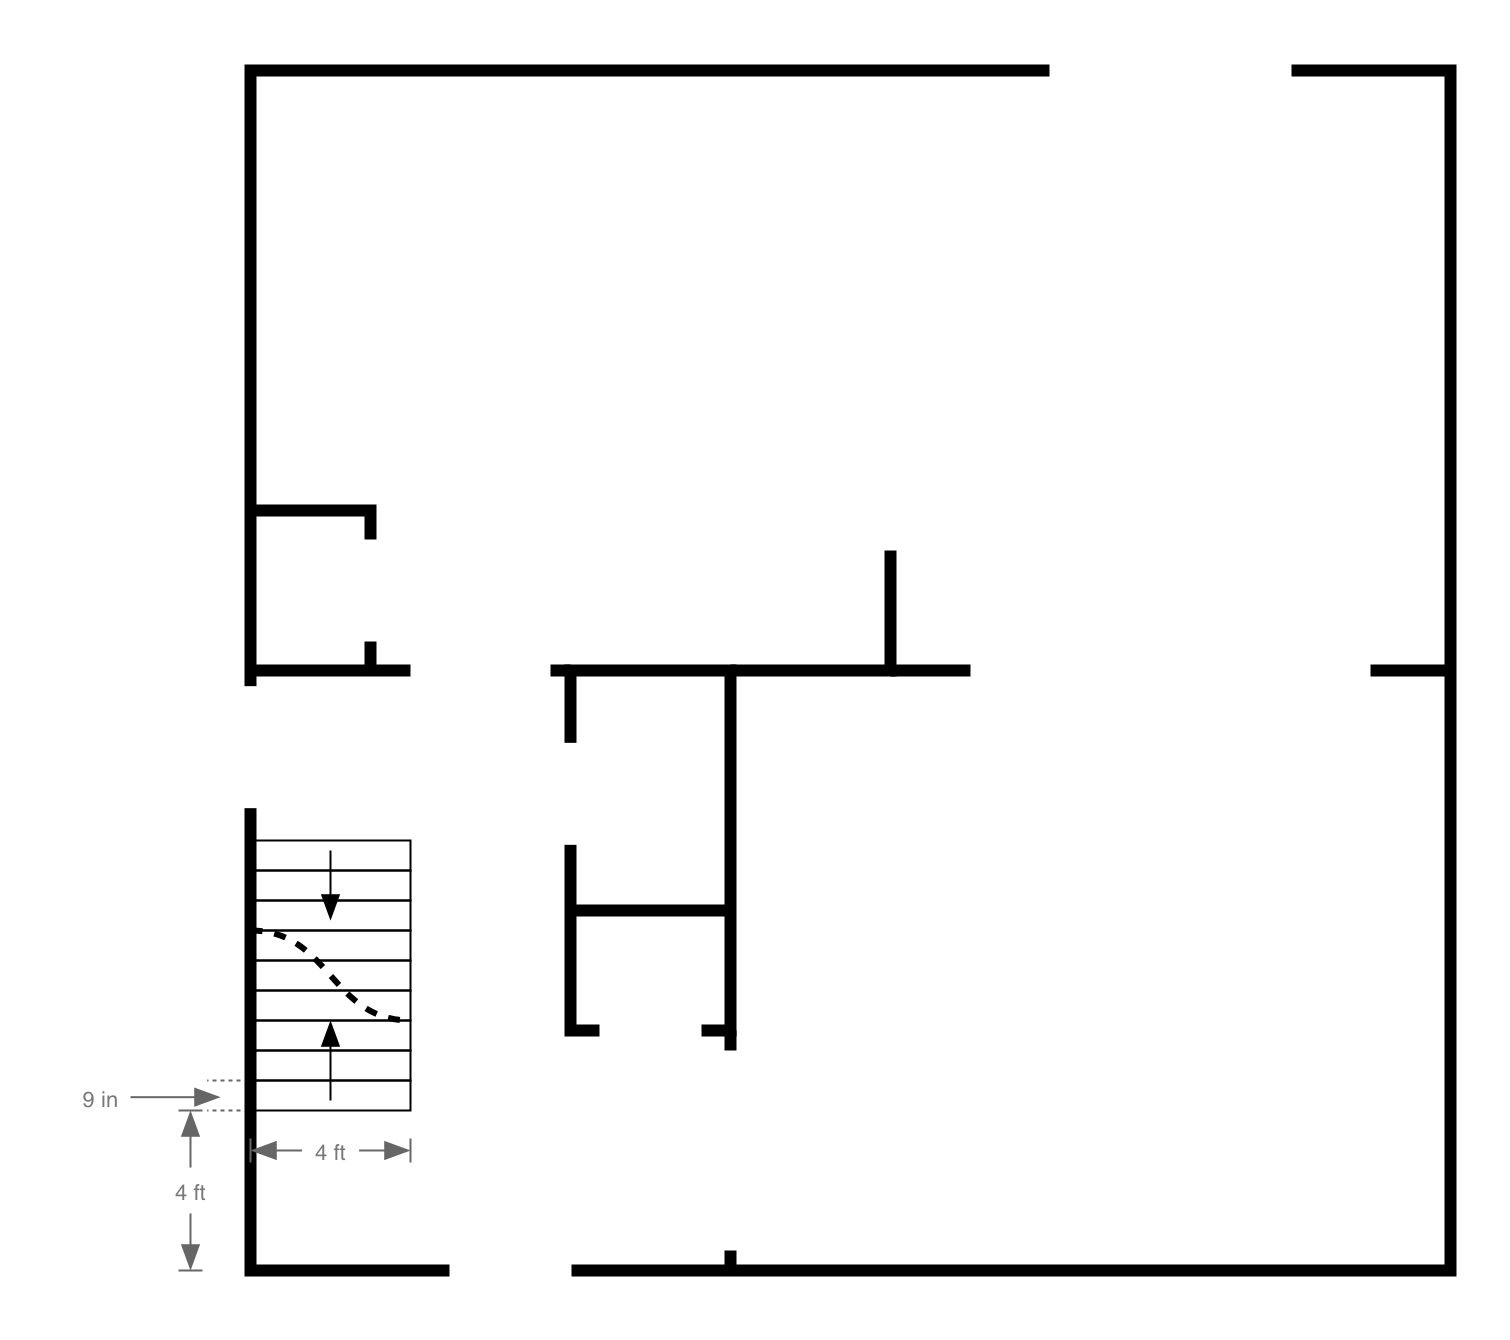
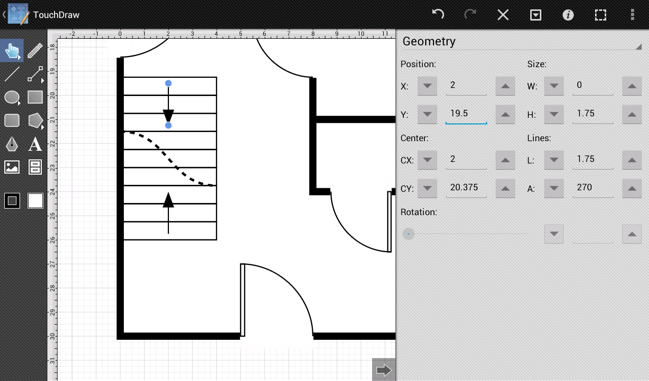
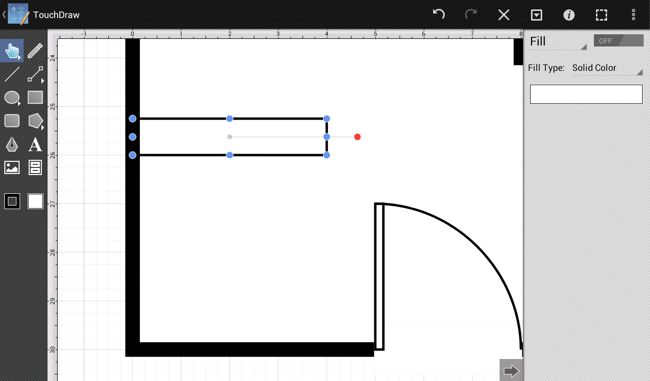
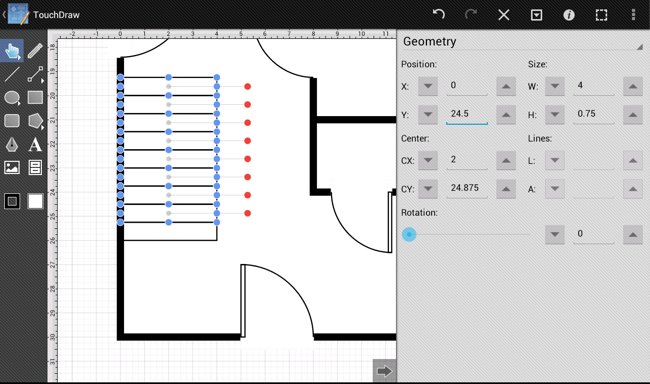
First, zoom in on the foyer area to make it easier to create the stairs. As seen in the diagram above, each stair tread is 4 ft wide by 9 in deep. Use the Rectangle Tool to draw the first stair (closest to the front door).
If you look closely, you will notice that the stairs overlap the exterior walls slightly. Use the Fill Panel in the Sidebar to turn off the fill for this shape and make it visually cleaner. The Fill Panel can be accessed by pressing on the button located directly below (portrait mode) or to the right (landscape mode) of the Stroke Button in the Drawing Toolbar.
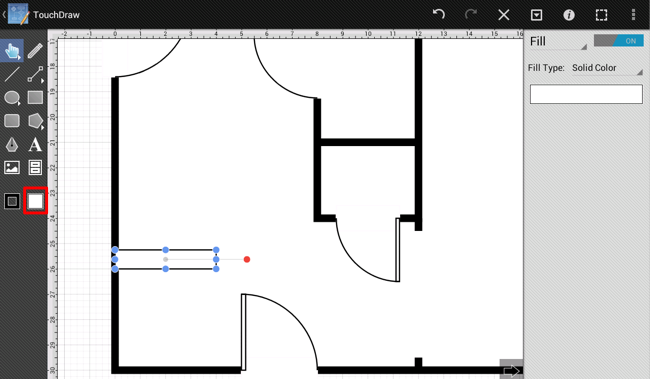
An On/Off toggle button can be found in the titlebar of the Fill Panel.
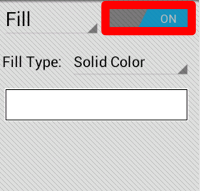
Toggle the button to OFFto cause the drawn rectangle to no longer have a fill color.
Next, the rest of the stairs need to be drawn. One way would be to simply use the Rectangle Tool to draw the remaining 8 stairs; however, this can be accomplished in a quicker manner within TouchDraw by using the Paste Multiple Copies… command.
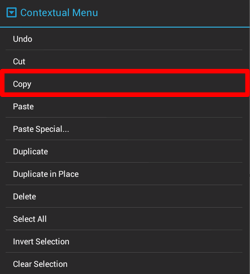
First, copy the rectangle to the clipboard. As with the Duplicate command, this is done by touching and holding on the shape to bring up the contextual menu or pressing on the Contextual Menu Button in the Top Toolbar. The first stair must be selected for the copy option to appear in the contextual menu.

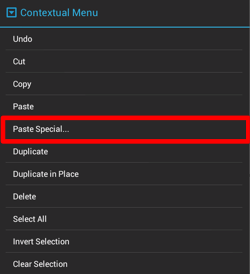
Next, open the contextual menu and navigate to the Paste Special… Submenu. This is accomplished by using the same steps as above to open the contextual menu and then selecting the Paste Special… Submenu.
Pressing on the Paste Special… Submenu allows for more Paste options to be seen.
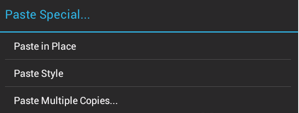
The option that we are interested in now is the Paste Multiple Copies… option. Tap on it next to see the following options.
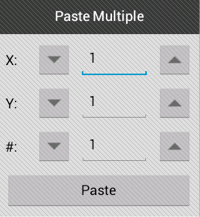
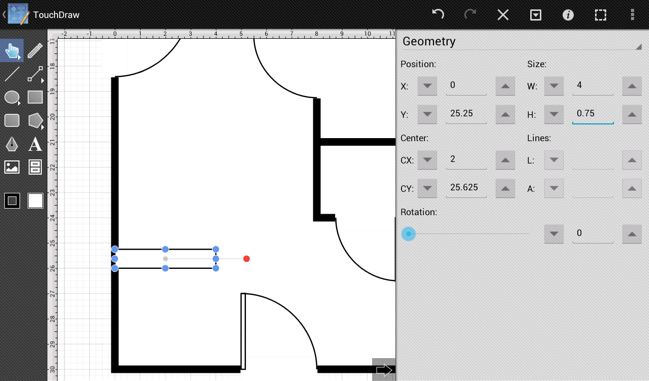
The Paste Multiple Copies… option allows for a specified number of copies of the shape (or shapes) currently copied to the clipboard to be pasted at specified increments. A total of 8 more steps will need to be inserted in order to create the stairs. The # of Copies entry must be changed to 8.
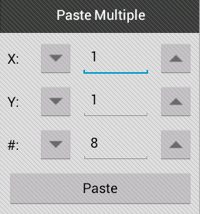
Next, change the X Offset field to 0 since the copies will only need to change position vertically from the position of the original shape.
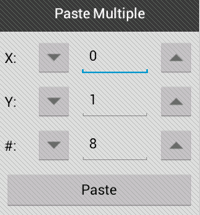
Next, enter -.75 ( 3/4 of a ft = 9 in) for the Y Offset since the steps are 9 inches high and they must be copied upward (in the negative Y axis direction).
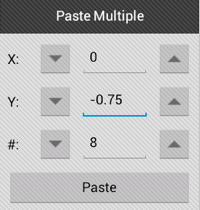
Press on the Paste Button to insert the copies.
The next step is to insert the curve which delineates that there are stairs going both up and down in this location and the Path Tool must be used to do this.
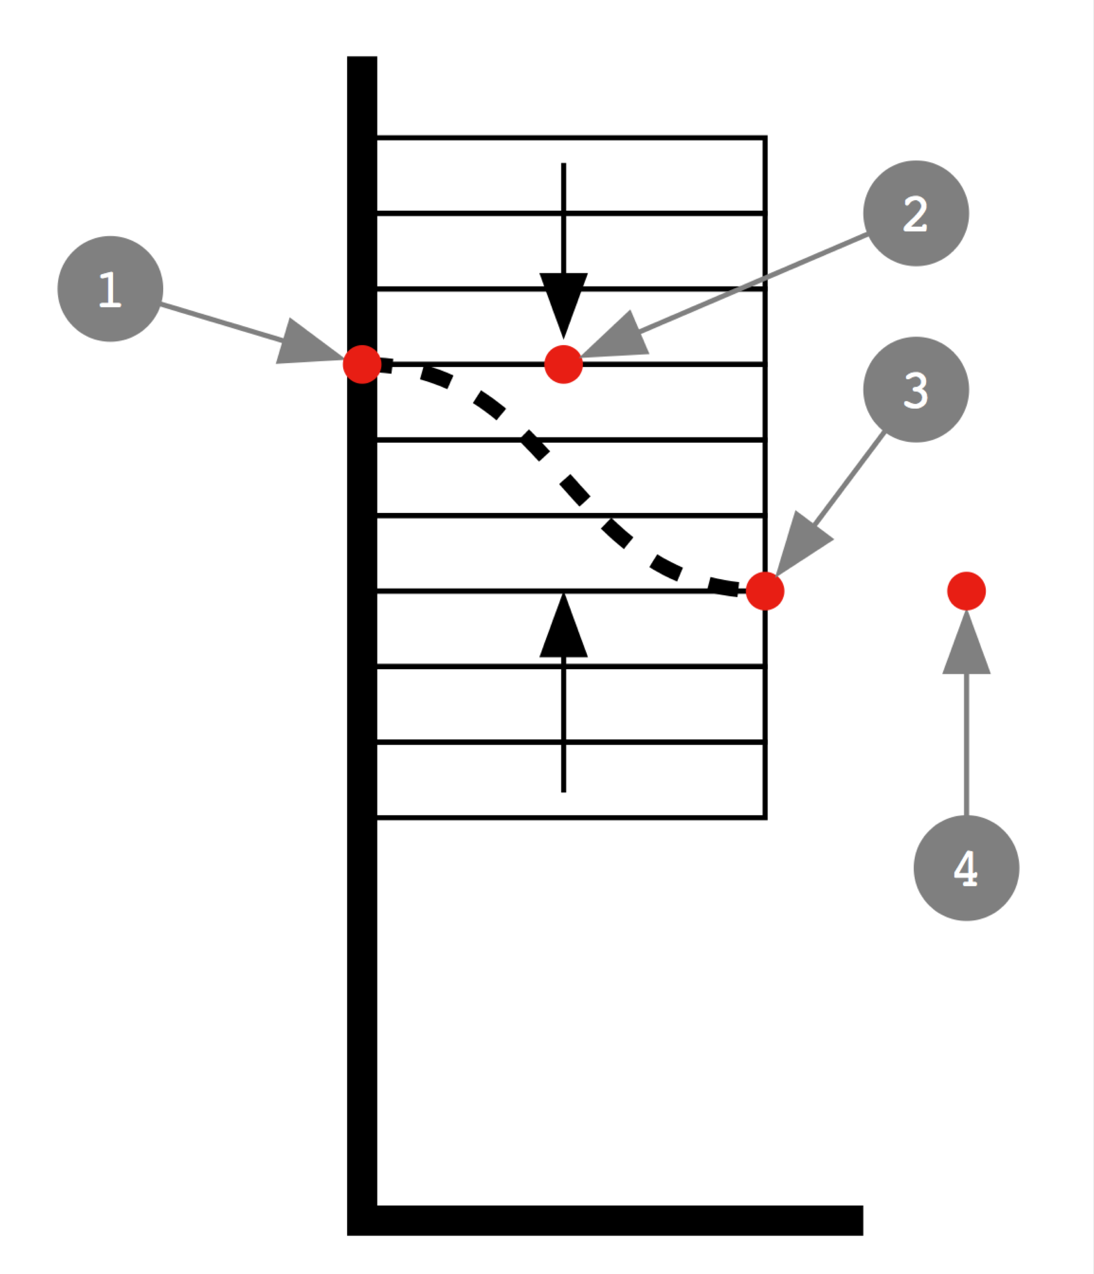
Since this is a slightly more complex operation, the steps will first be explained and then a video will be provided to show how to do this instead of having screenshots illustrating each step. Here is a diagram showing the points that will be discussed in the explanation:
Here is the explanation on how to create the curve.
- Select the Path Tool.
- Tap at Point 1 and then drag your finger over to Point 2 before picking your finger up.
- Tap at Point 3 and then drag your finger over to Point 4 before picking your finger up.
- Tap on the Move, Zoom, and Selection Tool to end the path creation process.
- Select the curve that was just created.
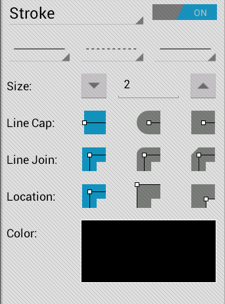
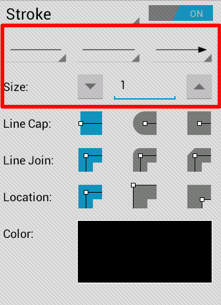
- Open the Stroke Panel.
- Change the Stroke Size to 2
- Select the dotted line as the line style.
Here is a video demonstrating how to do the above steps.
Next, the arrows showing the direction for going up and down the stairs need to be added. The Line Tool can be used to do this; however, the line style will need to be changed before doing so because the stroke size is currently set to 2 and the line is set to a dash pattern.
Note: Make certain the curve is de-selected before changing the stroke settings, otherwise the stroke style of the curve will be changed.
Change the stroke size to 1, change the dash pattern back to solid, and set the end decoration of the line to an arrow within the Stroke Panel.
The lines can be drawn once the above stroke settings have been changed.