Step 4 - Creating the Exterior Walls
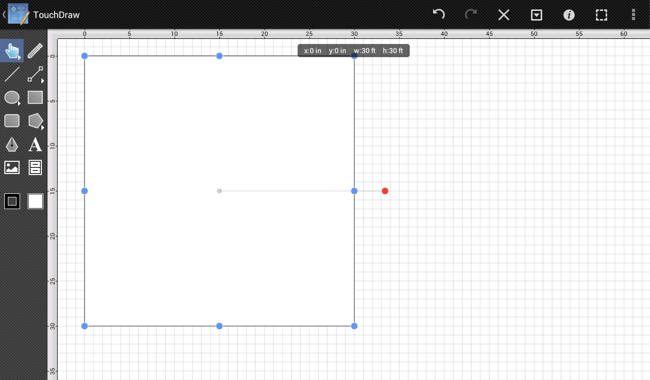
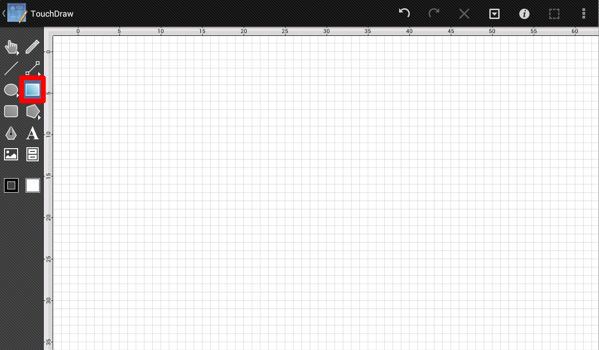
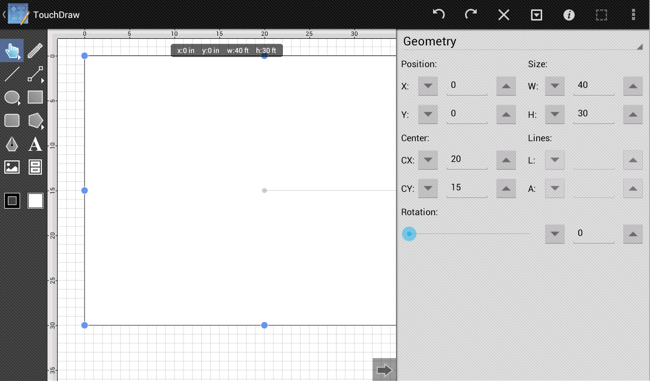
Start by creating a simple rectangle 30 feet wide by 30 feet deep for the exterior walls of the floor plan. This can be done by selecting the Rectangle Tool in the Drawing Toolbar on the left hand side of the screen.
Touch and drag on the Drawing Canvas to create the rectangle. TouchDraw provides visual feedback by showing the size of the shape at the top of the drawing canvas as the rectangle is drawn.
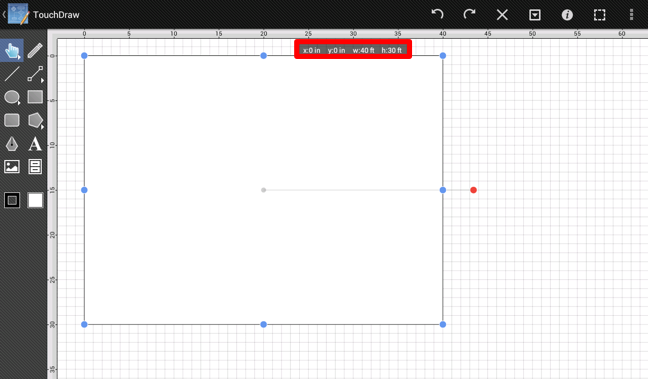
If the rectangle is not exactly 30 ft x 30 ft on the first try, it is not a problem and one of many of the tools in TouchDraw can be used to resize the shape. In the screenshot above, the rectangle is drawn approximately 10 ft too wide. The Geometry Panel in the sidebar will be needed to modify the size of the rectangle. Use the Info Menu to access this panel.
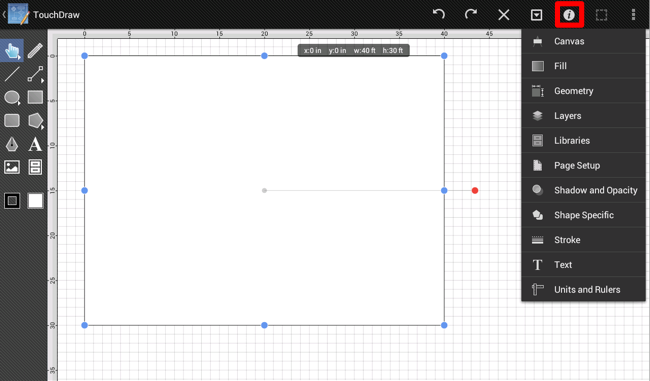
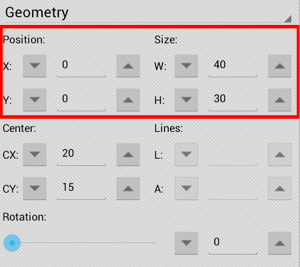
Tap on the Geometry option in the Info Menu. The Geometry Panel will appear on the right hand side of the drawing canvas and can be used to edit the size of the currently selected shape.
For a rectangle, the Geometry Panel contains 4 different values: x, y, w, h. X and Y represent the position of the upper left hand corner of the selected shape in the drawing canvas. W and H are the width and height of the shape in the currently selected unit of measure.
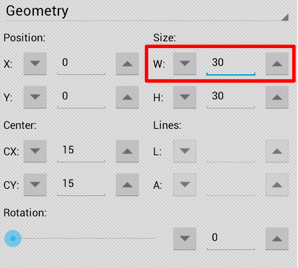
Either adjust the values by pressing on the up and down buttons or by tapping on the value, which will bring up the keyboard for editing the value directly.
Tap on the Hide Sidebar Button located at the bottom of the Geometry Panel to dismiss it.
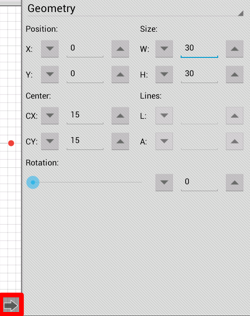
The screen should appear as shown below after changing the width of the rectangle to 30: