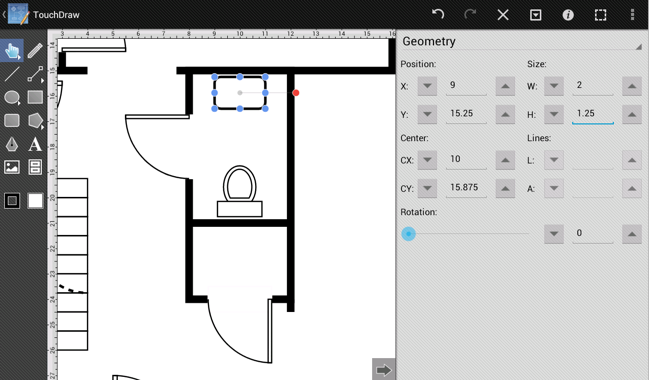
Step 19 - Adding the Bathroom Fixtures
Adding a toilet to the floor plan is similar to the process of inserting doors into a drawing. This is accomplished by selecting a toilet from the Architectural stencil library in the Libraries Panel and inserting it into the drawing.
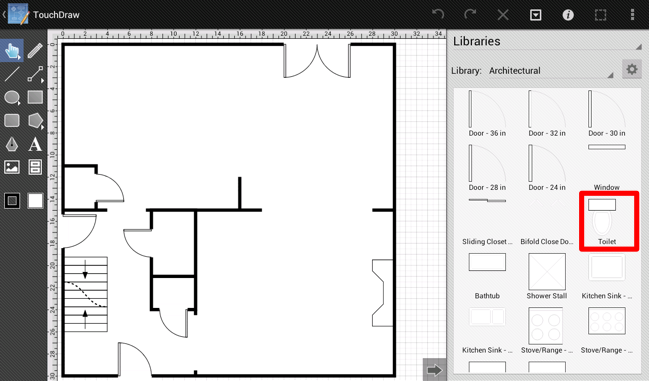
The following screenshot shows how the drawing will appear after the toilet has been inserted.
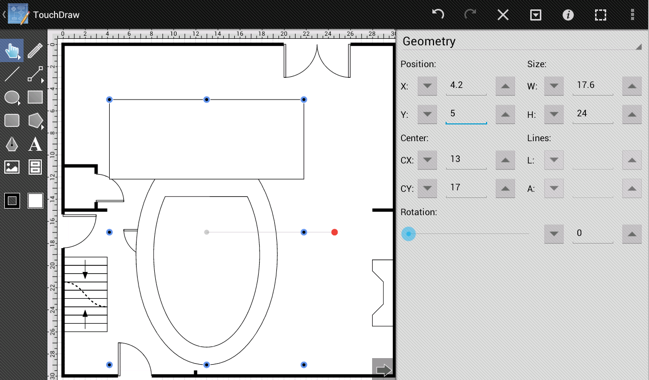
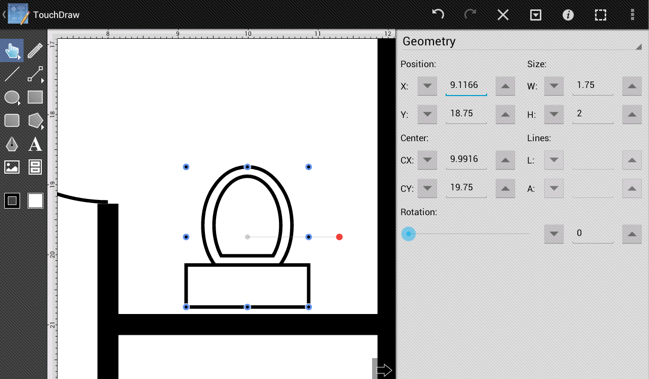
As with the door, the toilet is not scaled correctly due to changes made to the Points per Unit setting in an earlier step. As before, this is quickly remedied. Use the Geometry Panel to edit the width of the toilet to 1.75 and the height to 2.
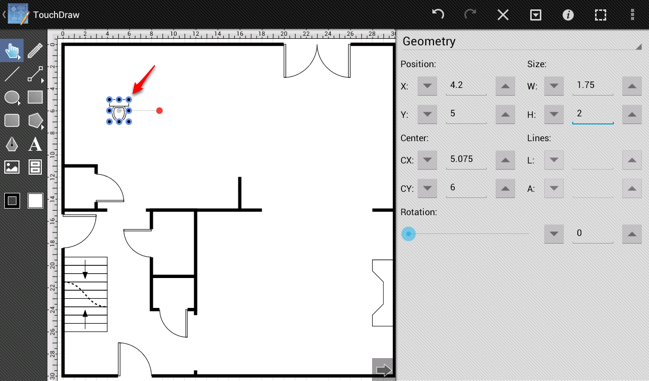
Next, the toilet will either need to be rotated by 180 degrees by using the Rotate 180° command or flipped with the Flip Vertically command since it is facing the wrong direction. Drag the toilet into place after it has been rotated or flipped.
Next, use the Rounded Rectangle Tool to draw a sink for the bathroom. The Rounded Rectangle Tool is located below the Rectangle Tool in the Drawing Toolbar (portrait mode). It appears below the Oval Tool in landscape mode, as shown below.
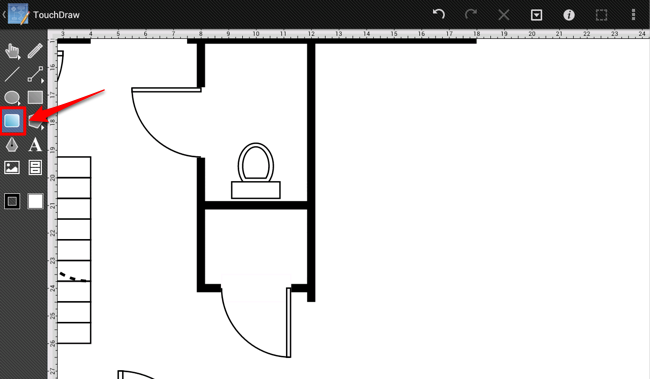
Draw the sink after the tool has been selected.
